


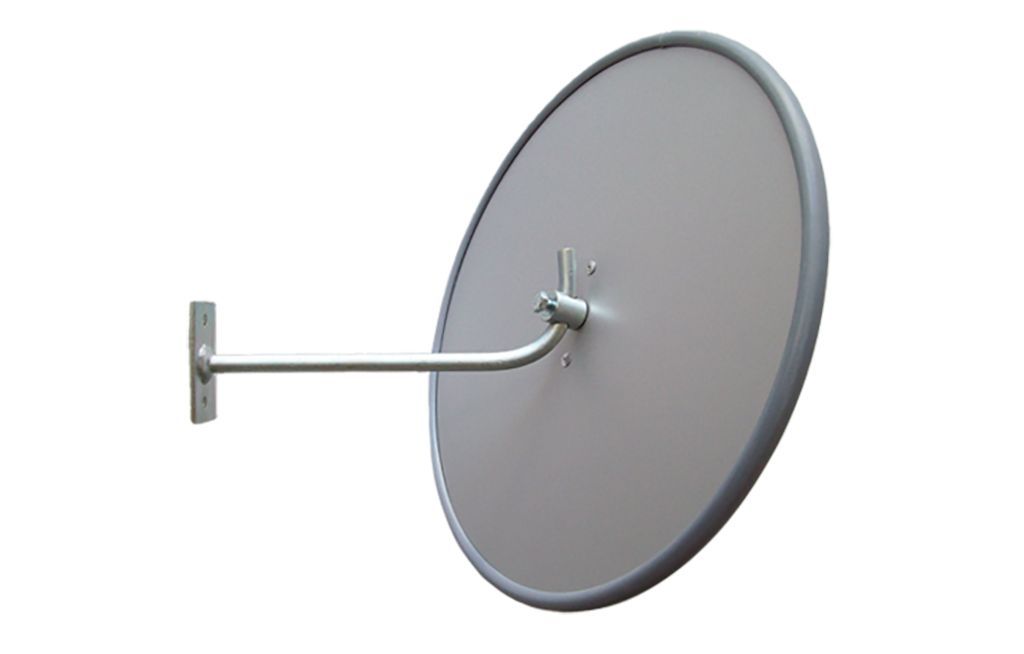
Features
- 2mm or 3mm acrylic mirror face
- Pure reflective coating
- ACM (Aluminium Composite Material) or vinyl back
- Vinyl extrusion
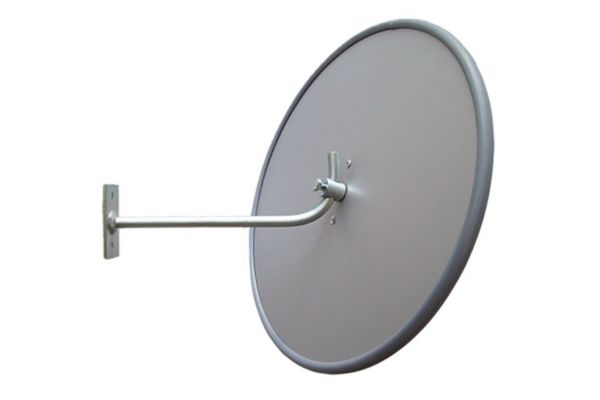
- Includes J-Bracket to fix to wall or ceiling (Mounting screws Not included).
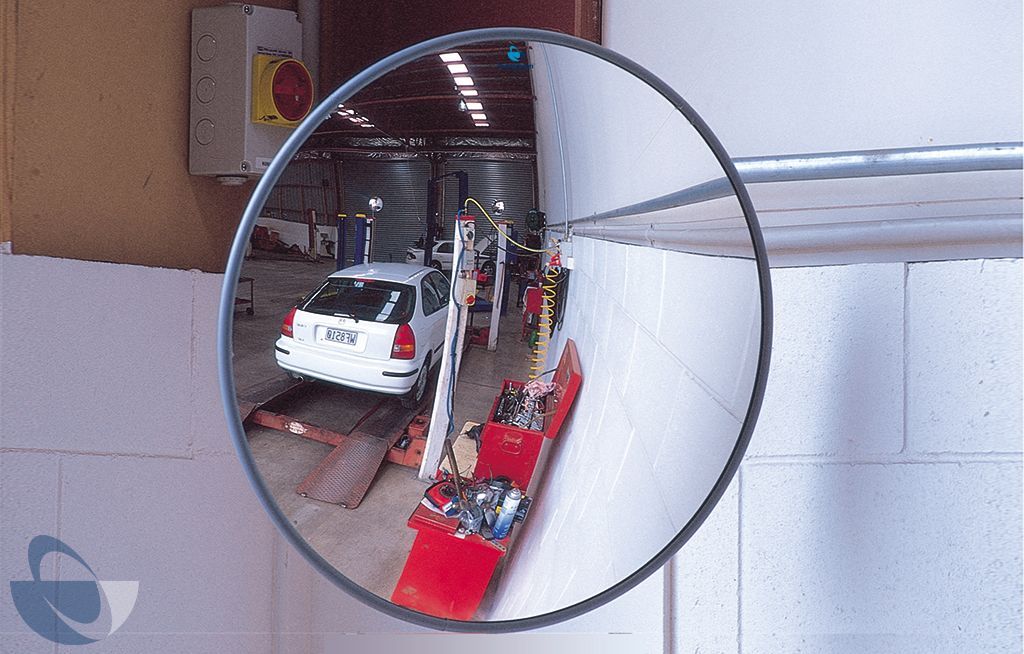
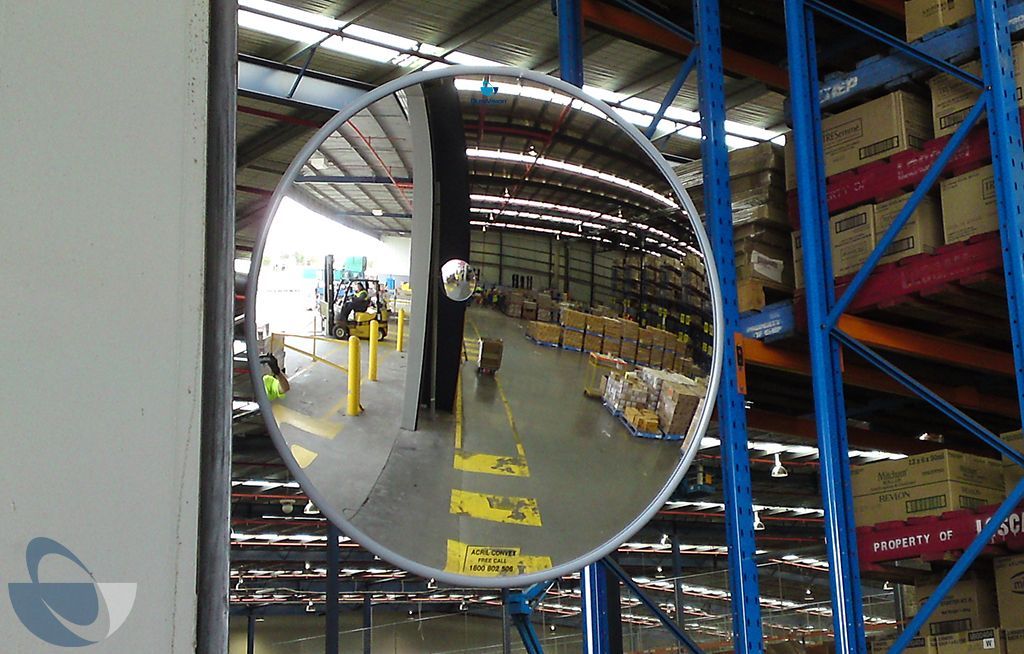
Suitable Uses
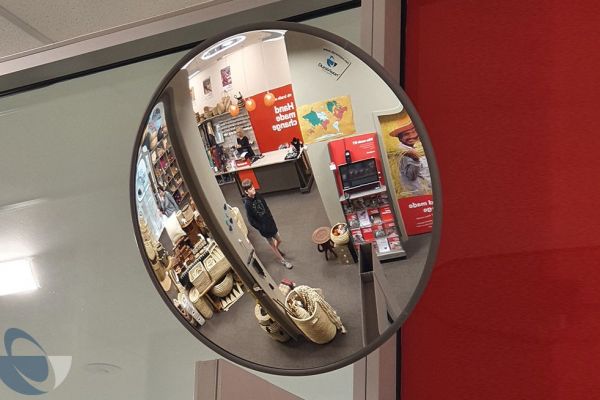
- Retail and Store Security
- Office Security
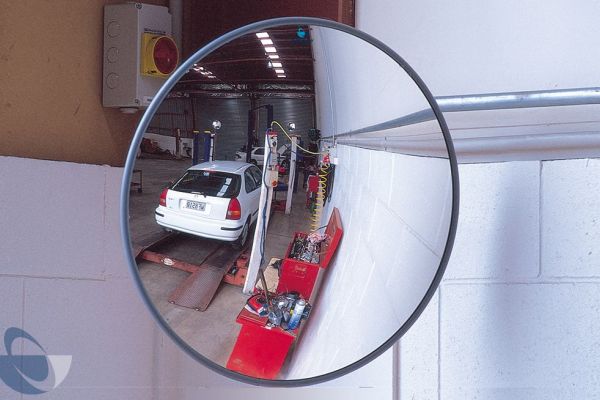
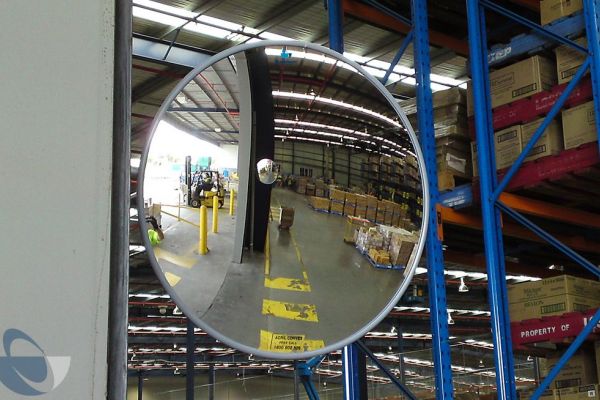
- Light Industrial Safety
- Hospitals and Schools
- Visitor Detection
- Other Indoor Observation Uses
Specifications
International Product Codes
| Product Code | Size Diameter | View Distance | Mirror Face | Mirror Back | Bracket Length |
|---|---|---|---|---|---|
| 18020J | 300mm | Up to 5m | 2mm Acrylic | 4mm ACM | 250mm |
| 18038J | 450mm | Up to 7m | 2mm Acrylic | 4mm ACM | 250mm |
| 18056J | 600mm | Up to 10m | 2mm Acrylic | 4mm ACM | 360mm |
| 18072J | 760mm | Up to 13m | 2mm Acrylic | 4mm ACM | 360mm |
| 18108J | 900mm | Up to 18m | 2mm Acrylic | 10mm Vinyl | 435mm |
| 18112J | 1200mm | Up to 23m | 3mm Acrylic | 10mm Vinyl | 435mm |
Download PDF Information Sheet View
US Product Codes
| Product Code | Size Diameter | View Distance | Mirror Face | Mirror Back | Bracket Length |
|---|---|---|---|---|---|
| 68020JP | 12" | Up to 16' | 2mm Acrylic | 4mm ACM | 9 3/4" |
| 68038JP | 18" | Up to 23' | 2mm Acrylic | 4mm ACM | 9 3/4" |
| 68056JP | 24" | Up to 33' | 2mm Acrylic | 4mm ACM | 14" |
| 68082JP | 32" | Up to 60' | 3mm Acrylic | 4mm ACM | 14" |
Download PDF Information Sheet View
Usage Guides
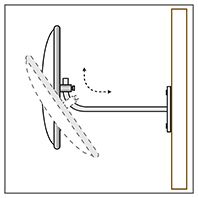
Positioning
Installation Guide
Indoor Standard Convex Mirror Installation Guide:
-
Decide the appropriate place to site the mirror to give maximum vision.
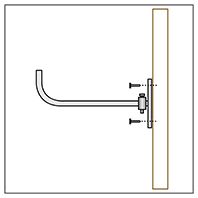
-
Fix J-Bracket to wall or ceiling using suitable fixing hardware (ie: screws, bolts). Allowing enough room to get the mirror on to the J-Bracket.
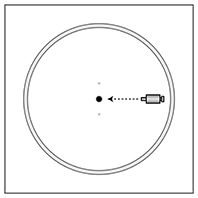
-
Thread adaptor into the back of the mirror
-
Peel protective film off around the immediate edge of the mirror.
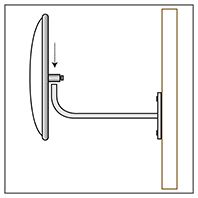
-
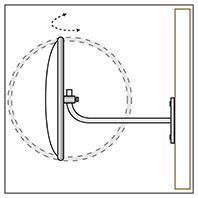
Slide the adaptor and mirror over the J-Bracket and adjust mirror to the desired position.
-
Tighten the locking bolt on the adaptor securely.

Download PDF Installation Guide View
Cleaning Guide
Acrylic Mirror Cleaning Guide:
General Cleaning:
DuraVisionTM recommend cleanning their acrylic mirror faces with soap and water and then with a clean, soft, lint free, damp cloth. Use a non-abrasive polish, such as Johnson’s Pledge or Mr Sheen for a clear bright reflection.
Saturate a clean soft cloth with polish, then spray the mirror face with polish. Wipe the wetted cloth over the mirror surface. With a another clean dry cloth buff the mirror face until it is clear of polish.
DO NOT USE:
- abrasives
- acids
- solvents such as petrol and laquer thinners
Graffiti Removal:
Any graffiti should be removed from the mirror face as soon as possible and preferably within 24 hours. To remove graffiti, use a non-abrasive substance such as De-Solv-it Stain Remover. Not all graffiti cleaning agents are suitable. Failure to use an approved cleaning agent may damage the mirror surface.
Scratches:
To remove scratches or repair blemishes on acrylic mirror faces only, use the following products:
- For cleaning use NOVUS plastic polish #1
- For fine scratches use NOVUS plastic polish #2
- For badly scratched surfaces use NOVIS plastic polish #3 followed by #2 and #1.
Download PDF Cleaning Guide View
